

Do you want to record beautiful moments with your family and friends, Looking for exciting bedroom fairy light ideas, you have come to the right place! We provide you with a super simple guide for your reference.
Record Happy Hours
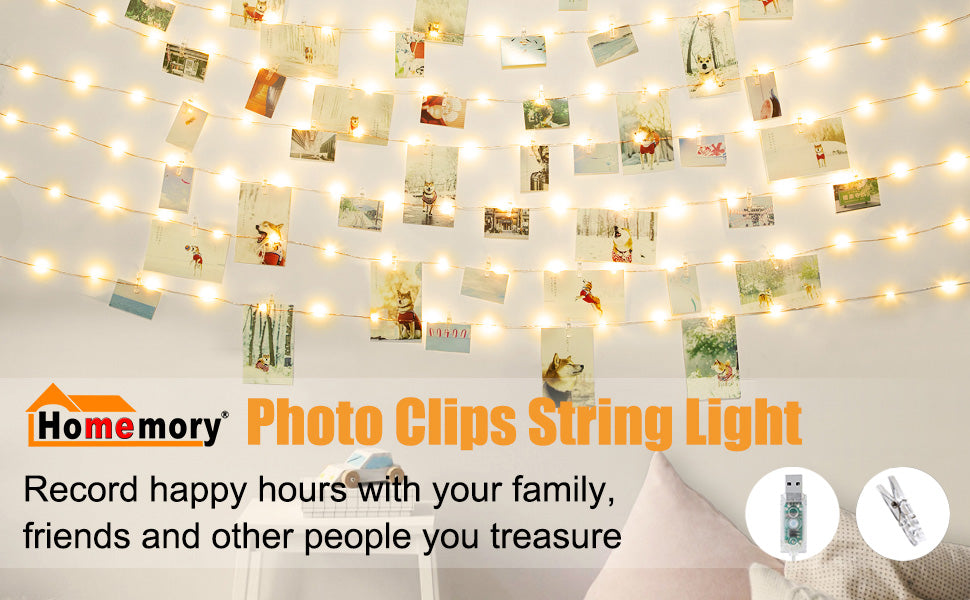
Do you take a lot of photos every time you go out with your friends and family? Print out the photos together to make a memory wall of your own. You can build your wall of memories with simple tools and our led fairy lights. There's no need to be a DIY expert or creative crafter, it's so simple to create your own fairy light wall in a matter of moments! Our LED fairy lights battery operated with remote will be your good choice. Follow our steps and share yours using!
What you need to prepare:
Choose a wall in your home to start your decoration. You can use a pencil or something else that can be used for marking. Lightly mark where you want to fix the nail. The number of nails depends on the size of the area you want to arrange, we use a total of 4-6 nails for fixing.

Choose the area you want to decorate, you can use a hammer to gently drive the nail into the wall-pay attention to your fingers! If you are using Traceless nails, you also only need to use a hammer to gently knock the 3 small nails on the hook into the wall! The Traceless nails have less damage to the wall.
Begin to drape your fairy lights from side to side, weaving your lights back and forth over each nail. You can take the parallel winding method or weave into the shape you want.


Leave a comment